Ask for help, request features or help hunting down bugs at OpenSource@Citec or mail us.
Learn how things work. Have a look at the specs or the documentation. Our wiki might help as well.
Use BRIX₂ to build cool stuff and contribute to our gallery. Inspire and get inspired.
About
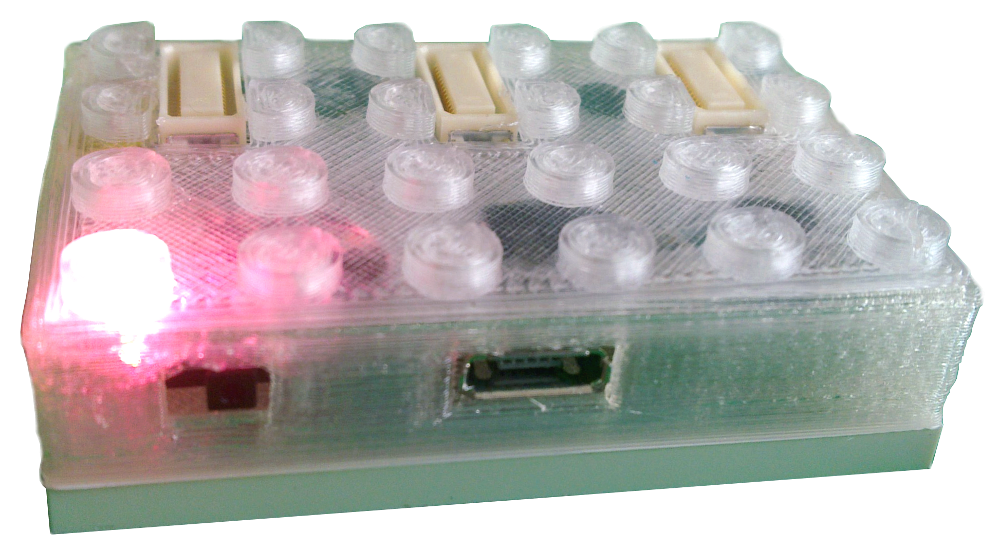
In our everyday life we are surrounded by digital systems which are capable of sensing our presence and actions and process these information for a variety of purposes. However, for most people the underlying processes are hidden behind a wall of blinking lights and polished aluminum covers. Our goal is to tear down this wall to open up a world of opportunities and new ways of handling complex technology in an easy way. Express yourself without artificial borders and get guidance to solve tasks your way. BRIX₂ will help you to do the first steps towards your very own interactive sensor applications.
Based on technology and knowledge from the Arduino community, BRIX₂ also follows the vision of open source and easy to access technology. Instead of starting from scratch, you can learn to build upon the work of this community and achieve fantastic things in the blink of an eye. With BRIX₂ you can contribute to this community and be assured that there will always be help if you need it.
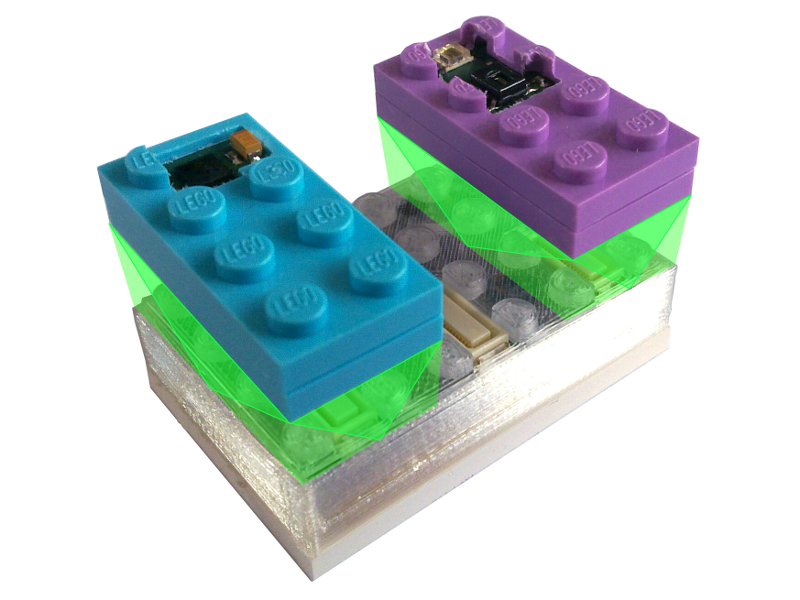
Learning with BRIX₂ allows you to demystify the black boxes we all carry around and work with every day. And as your knowledge and ambition grows, BRIX₂ will still suit your needs because of it's extensible design. When you reach the point where no sensor module can help you anymore, we are pretty sure you are already capable enough to build your own and we will be happy that you made it that far.
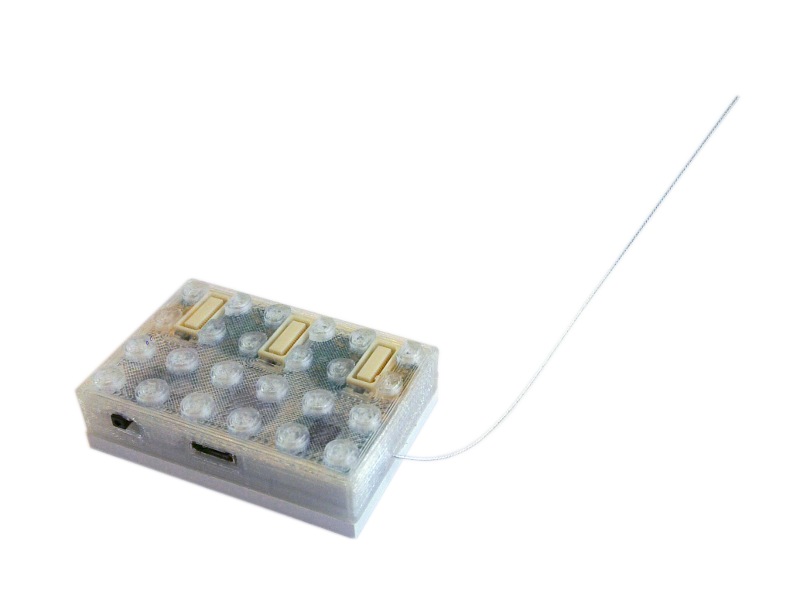
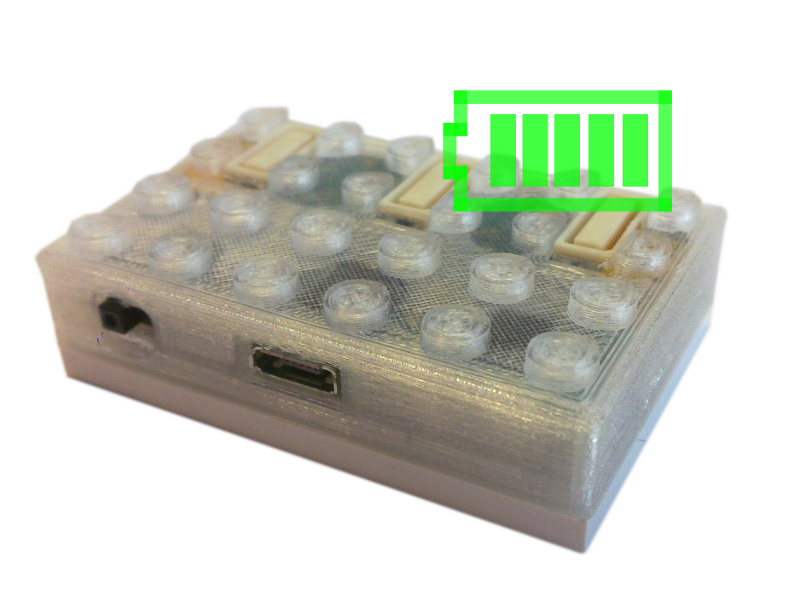
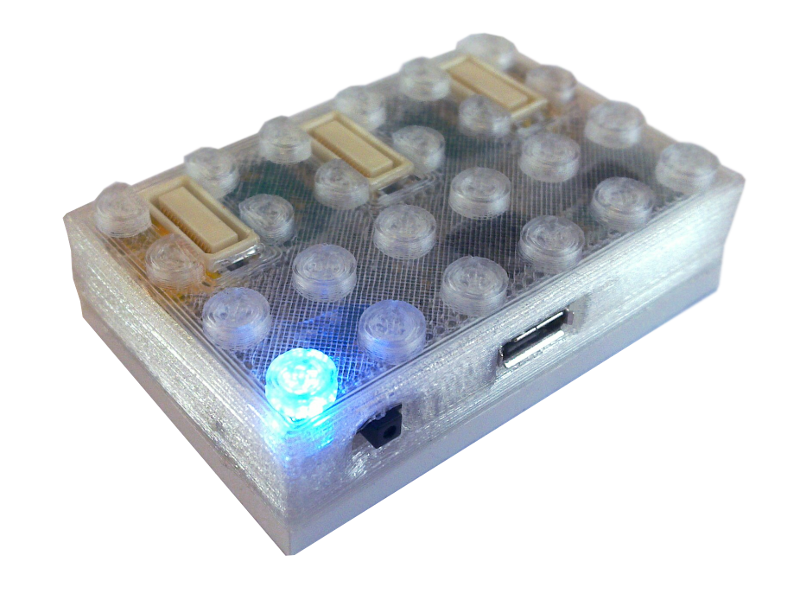
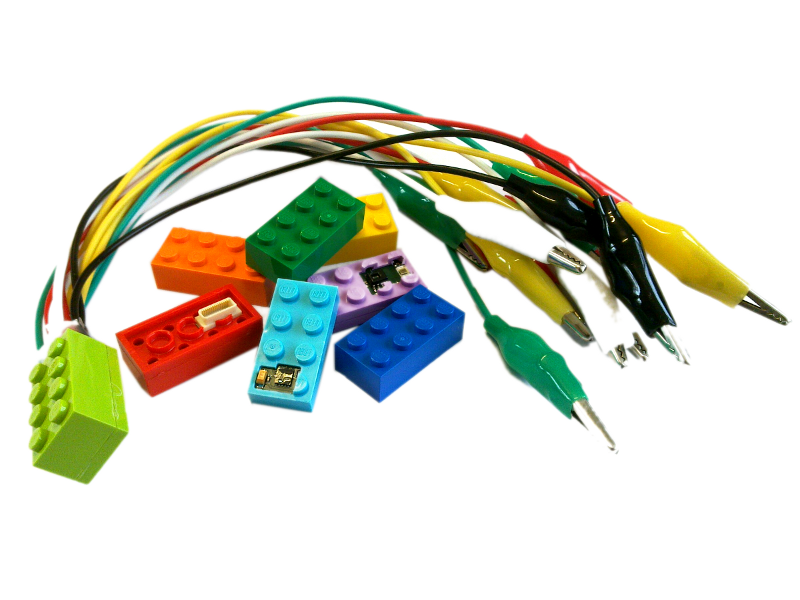
Features


Getting Started
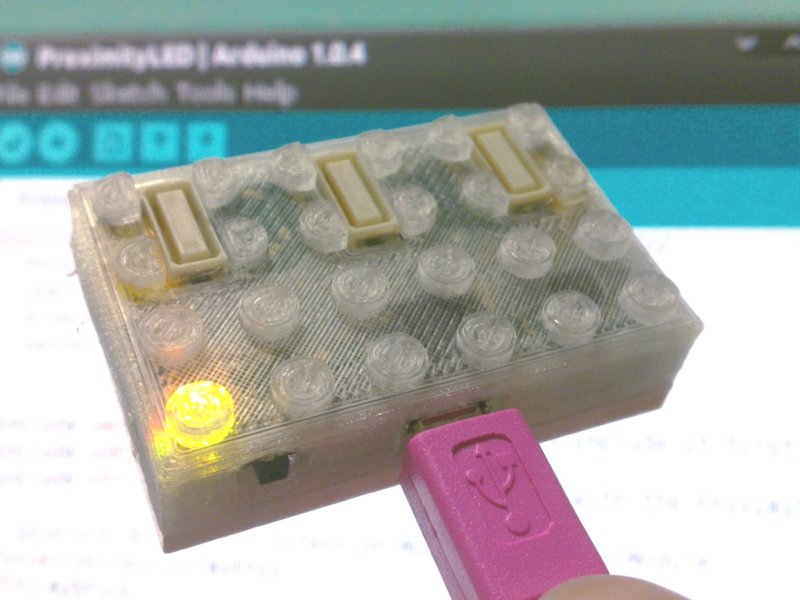
Download the current stable Arduino IDE for your operating system. If you use OSX or Linux there is no installation required for the Arduino IDE to work. Windows user should make sure to install the serial driver as described here.
Connect the module to your computer's USB port using a MicroUSB cable (that's the one you charge your smartphone with.) and turn it on. In the Arduino IDE, go to Tools->Serial Port and tell the IDE where the BRIX₂ module is connected. Depending on your os this port could be similar to
Now we have to tell the Arduino IDE which kind of Arduino it's dealing with. Go to Tools→Board and choose Arduino Leonardo since this is the core that also drives BRIX₂.

Weee, you did it! You compiled and uploaded your first BRIX₂ sketch.
Serial1 (ONE!) communicates with the wireless transceiver, Serial communicates with USB. Example: if you send something from your computer to the wireless world, your sketch receives this on Serial and passes it on to Serial1.
Feel free to contact us if you have any further questions about BRIX₂
szehe