1.2.2. Audio Visualizer
The audiovisualizer components can be found in the tools tab of the supplementary vdemo.
They will open a window showing a spectral visualization of their respective live microphone data on the 4K TV.
When starting the component manually, more options are available. The scope the component uses is specified with the INSCOPE environment variable.
The WIDTH and HEIGHT of the visualization window can be given (but not changed later on by resizing the window).
The text overlay is controlled by TEXT.
Sometimes, the microphone volume is too low to be properly visualized. In that case, you can use the VOLUME setting, to increase the volume, with 10 being the maximum value.
There are different VISUALIZER modules that can be used. A list of typical choices is given in the code below but ultimately depends on the gstreamer installation.
See Spectroscope visualization of the kitchen microphone. for some examples. The code also shows the defaults currently used and the complete pipeline for full reference; as a quick overview see the following table.
| Environment Variable | Default | Description |
|---|---|---|
INSCOPE |
<kitchen> | Input scope |
WIDTH |
1280 | Width of the visualizer window |
HEIGHT |
720 | Height of the visualizer window |
VOLUME |
1.0 | Volume will be increased by the square of this |
VISUALIZER |
spectrascope | Width of the visualizer window |
VIDEOCOMPONENT |
ximagesink | Output module (ximagesink or xvimagesink) |
VIDEOCOMPONENTPARAM |
720 | Optional parameter to the output module |
TEXT |
␣ | Text to overlay in the bottom right corner |
#!/bin/bash

: ${GST_DEBUG:=2}
export GST_DEBUG
: ${INSCOPE:=/citec/csra/home/hallway/entrance/asc10/audio/in/default}
: ${WIDTH:=1280}
: ${HEIGHT:=720}
: ${VOLUME:=1.0}
#: ${VISUALIZER:=wavescope}
: ${VISUALIZER:=spectrascope shader=fade-and-move-down}
#: ${VISUALIZER:=spacescope}
#: ${VISUALIZER:=synaescope}
#: ${VISUALIZER:=libvisual_oinksie}
#: ${VISUALIZER:=libvisual_lv_scope}
#: ${VISUALIZER:=libvisual_lv_analyzer}
#: ${VISUALIZER:=libvisual_jess}
#: ${VISUALIZER:=libvisual_jakdaw}
#: ${VISUALIZER:=libvisual_infinite}
#: ${VISUALIZER:=libvisual_corona}
#: ${VISUALIZER:=libvisual_bumpscope}
#: ${VIDEOCOMPONENT:=xvimagesink}
: ${VIDEOCOMPONENT:=ximagesink}
#: ${VIDEOCOMPONENTPARAM:=provide-clock=false}
: ${TEXT:=' '}

# fix for ambiguous global plugins definition
export RSB_PLUGINS_CPP_LOAD=rsbspread

gst-launch-0.10 -v  \
   rsbaudiosrc \
   "scope=$INSCOPE" \
   ! audioresample \
   ! audioconvert \
   ! volume volume=$VOLUME \
   ! volume volume=$VOLUME \
   ! $VISUALIZER \
   ! textoverlay \
   text="$TEXT" halignment=right \
   font-desc="sans,helvetica,arial 14" \
   ! "video/x-raw-rgb,width=$WIDTH,height=$HEIGHT" \
   ! autovideoconvert \
   ! "$VIDEOCOMPONENT $VIDEOCOMPONENTPARAM"
At the time of this writing, the vdemo lines used for the config were:
gstaudiovisualizer,${PC_CORE_VIS},-l -x -g audio -L 2 -n -t hallwayaudiovisualizer -v TEXT=Hallway -v WIDTH=320 -v HEIGHT=240 -v VOLUME=10 -v INSCOPE=/citec/csra/home/hallway/entrance/asc10/audio/in/16bit/16000Hz/LE:
gstaudiovisualizer,${PC_CORE_VIS},-l -x -g audio -L 2 -n -t kitchenaudiovisualizer -v TEXT=Kitchen -v WIDTH=320 -v HEIGHT=240 -v VOLUME=10 -v INSCOPE=/citec/csra/home/kitchen/assistance/asc7/audio/in/16bit/16000Hz/LE:
Some example call to the script might look like this:
INSCOPE=/citec/csra/home/hallway/entrance/asc10/audio/in/default TEXT=Hallway VOLUME=2 VISUALIZER=libvisual_infinite gstaudiovisualizer
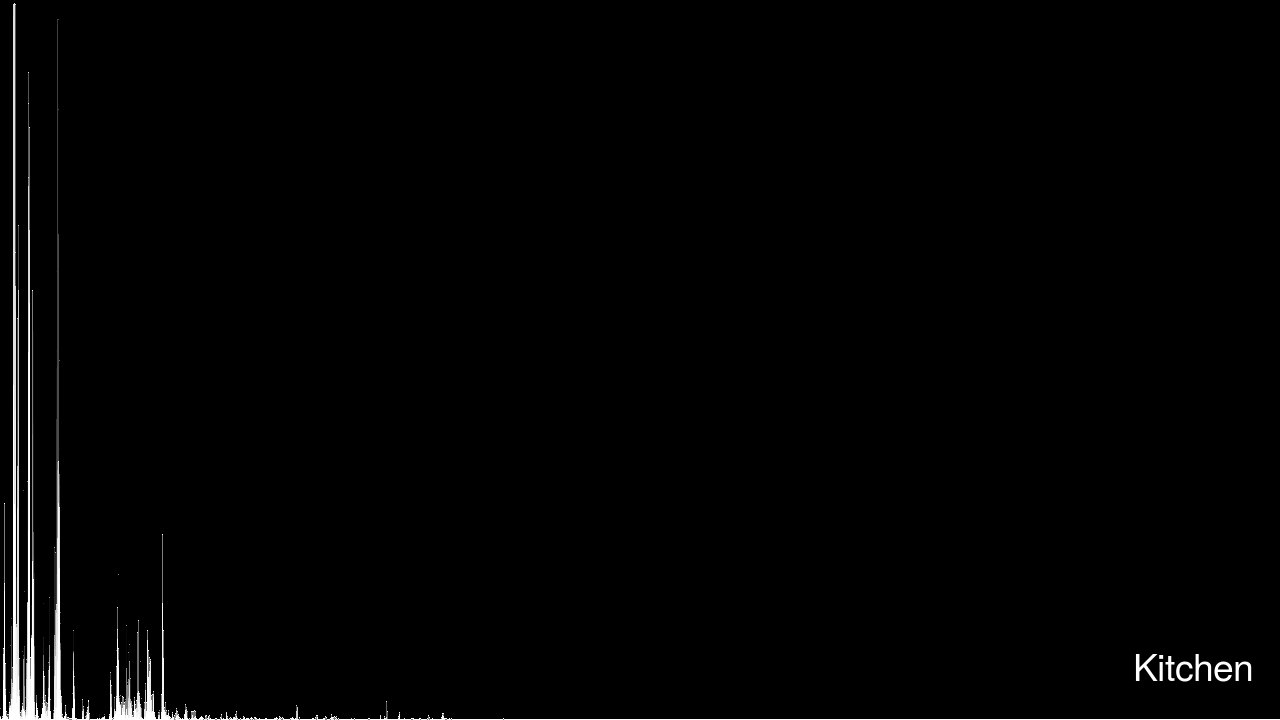
Spectroscope visualization of the kitchen microphone.
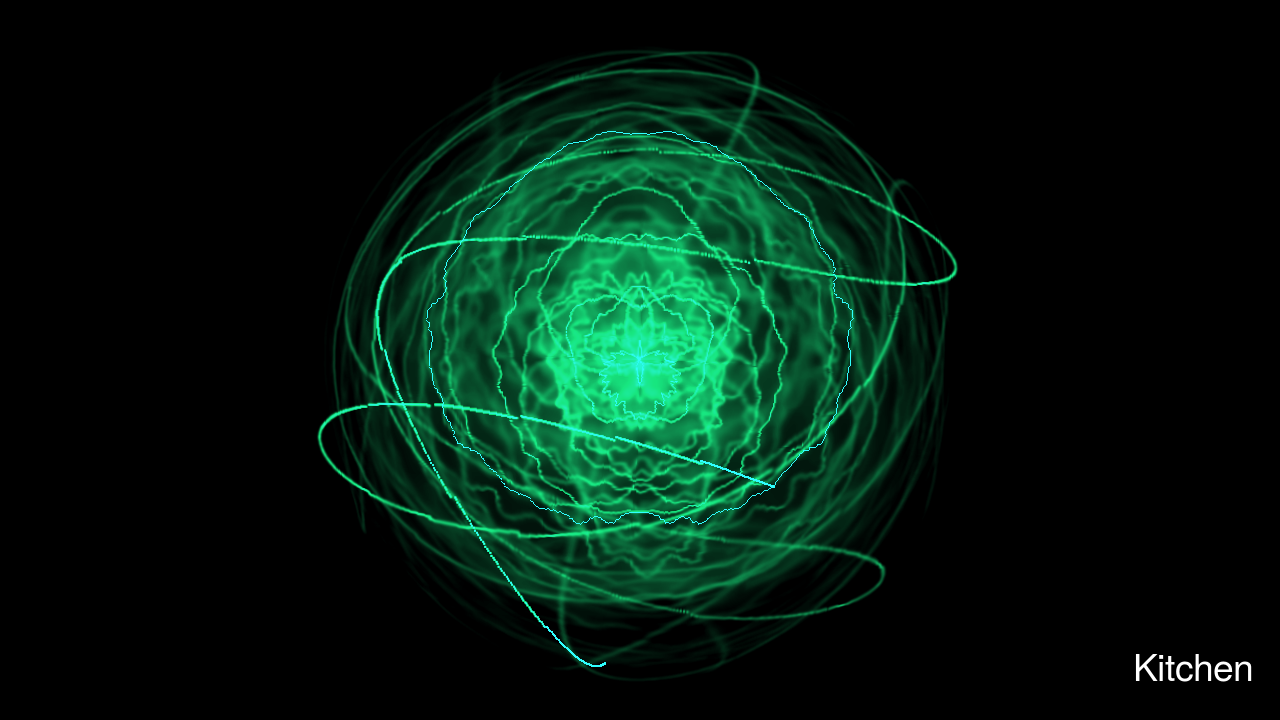
Libvisual’s “infinite” rendering of the kitchen microphone.
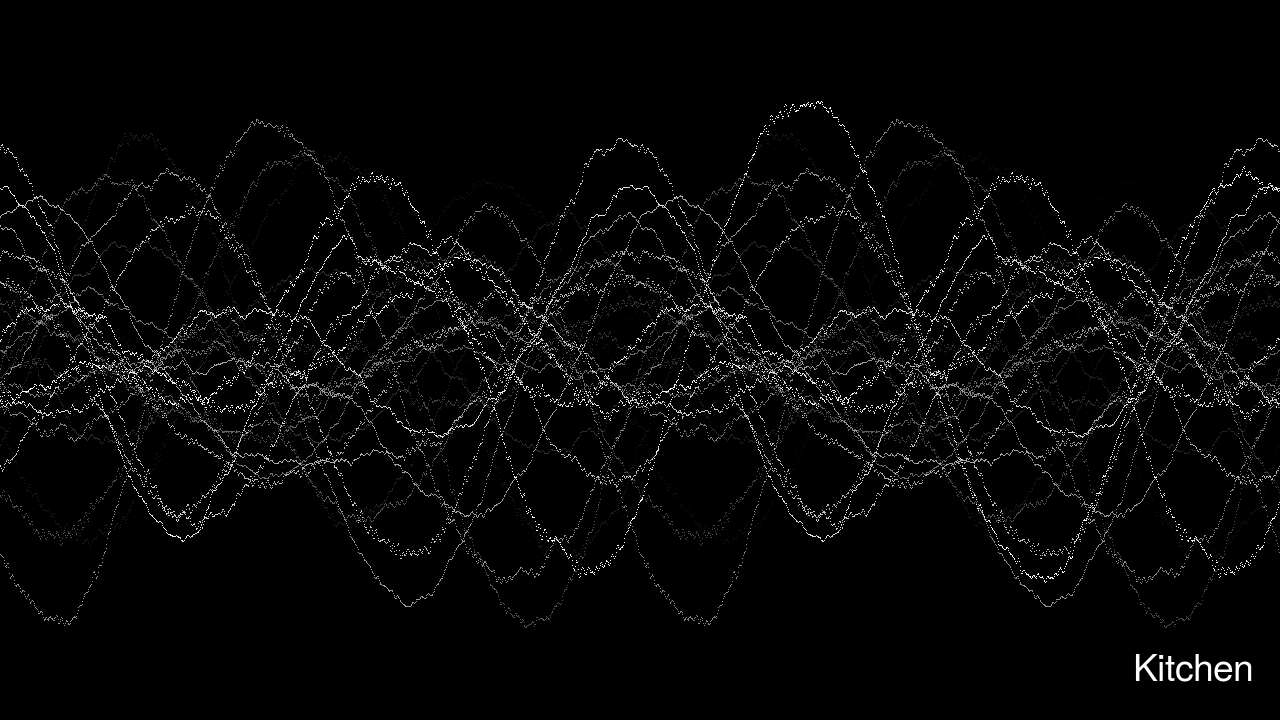
Wavescope visualization of the kitchen microphone.
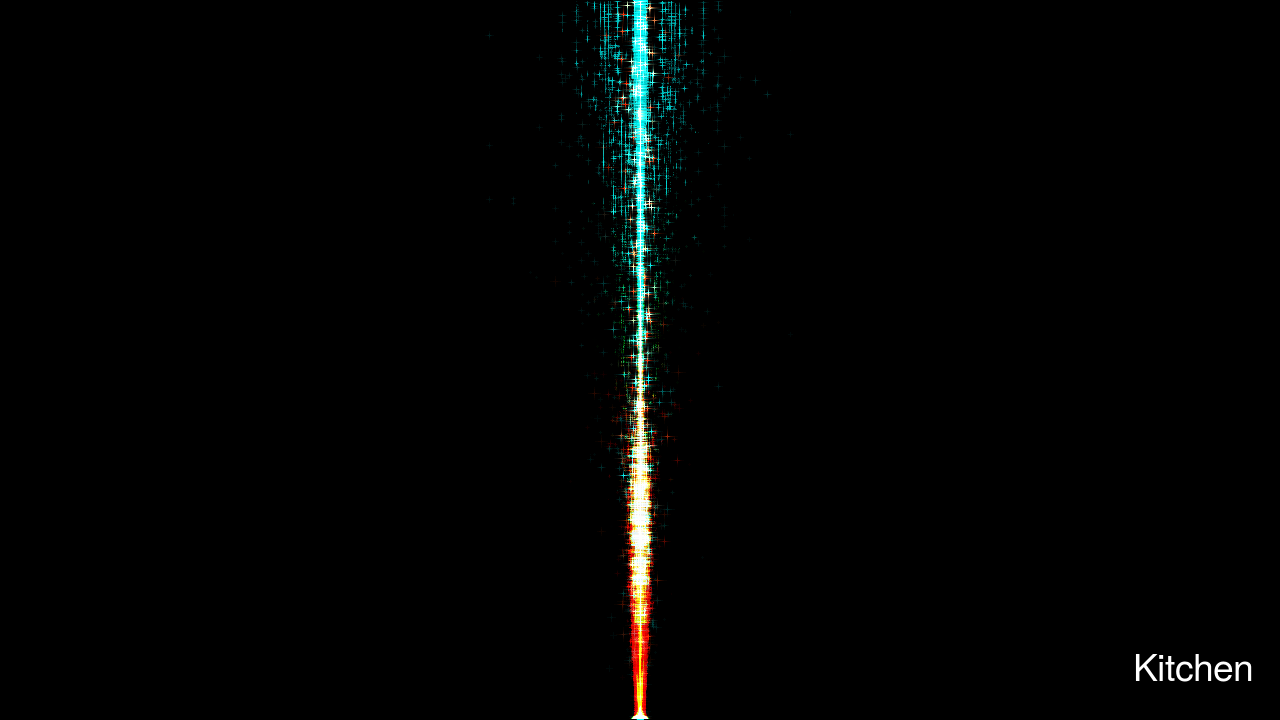
“Synaescope” visualization of the kitchen microphone.